Why Do Dogs Wag Their Tails? The Truth Behind Every Wag
The question “why do dogs wag their tails so much” might seem simple on the surface, but the answer is full of depth and scientific intrigue. Dogs wag their tails not merely because they’re happy — although that’s a part of it — but because it is a complex form of communication powered by instinct, social learning, neurological response, and emotional cues. Canines use tail movement to interact with other animals and humans, to express joy, anxiety, warning, submission, and even confusion. Unlike humans who use facial expressions and words, dogs rely heavily on physical gestures, and tail wagging is one of the clearest signals in their body language toolkit.
Stat Fact: Research from the University of Trento published in Current Biology found that dogs wag their tails to the right when they feel positive emotions and to the left when they experience negative stimuli (source). This lateralization is connected to the dog’s brain hemispheres, indicating that tail wagging is neurologically driven, not just behavioral.

| Tail Wagging Purpose | Explanation |
| Social Interaction | Dogs use tail movements to communicate with other dogs and humans. |
| Emotional Expression | Joy, fear, aggression, and excitement can all be conveyed through the tail. |
| Neurological Reflex | Tail wagging may also occur unconsciously during certain physical triggers. |
| Learned Behavior | Puppies learn to wag their tails in response to positive reinforcement. |
Understanding Canine Body Language
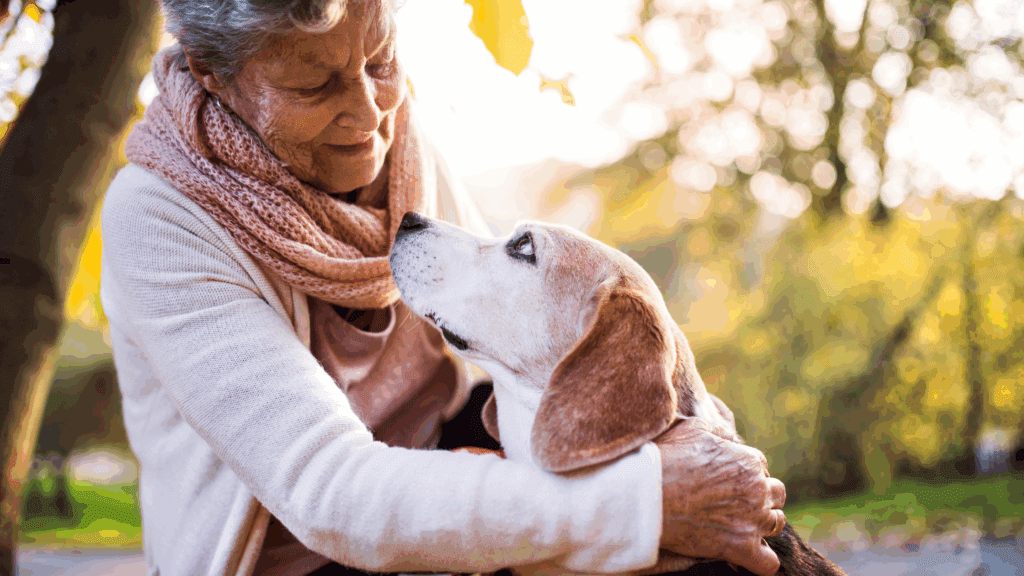
When we talk about dogs wagging their tails, we must look at the broader context of canine body language. A wagging tail doesn’t exist in isolation — it’s part of a full-body system of communication that includes ears, eyes, mouth, posture, and movement. Dogs are incredibly expressive creatures, and they often use their entire bodies to convey their internal emotional states. The tail is just the most visible and universally recognized part of this system. In a way, the tail acts like a semaphore flag — a signaling device that, when decoded correctly, tells us exactly what a dog is feeling or trying to say.
| Body Part | Communication Role |
| Tail | Shows emotional state (happiness, fear, dominance, submission). |
| Ears | Reveal alertness, focus, anxiety, or relaxation. |
| Eyes | Direct stare may mean aggression; soft eyes often indicate calmness. |
| Posture | Tense body signals fear or aggression; loose body shows friendliness. |
| Mouth | Panting can be nervousness or heat; showing teeth can be fear or threat. |
The Science Behind Tail Wagging
Tail wagging isn’t a random motion—it’s deeply rooted in biology and governed by the nervous system. The action is primarily managed by the spinal cord and coordinated by parts of the brain responsible for emotion, particularly the limbic system. The cerebellum also plays a key role in fine-tuning the motion, ensuring fluid and purposeful movement. When a dog feels a particular emotion, whether it’s joy from seeing their favorite person or fear from an unfamiliar noise, their brain sends signals down the spinal cord to initiate movement in the muscles surrounding the tail. This means tail wagging is a neurochemical event as much as it is behavioral.
| Scientific Component | Function in Tail Wagging |
| Brainstem | Initiates basic motor control for tail movement. |
| Limbic System | Triggers emotional responses like fear or excitement that lead to wagging. |
| Spinal Cord | Acts as a highway for nerve signals traveling from the brain to the tail. |
| Muscles & Nerves in Tail | Execute the wagging motion based on neural commands. |
What Does It Mean When Dogs Wag Their Tails?
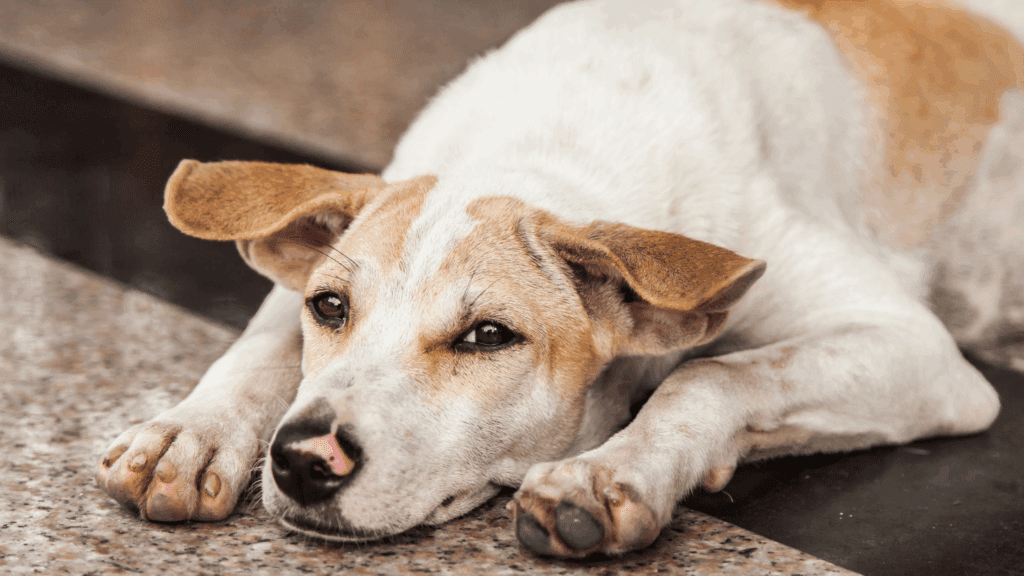
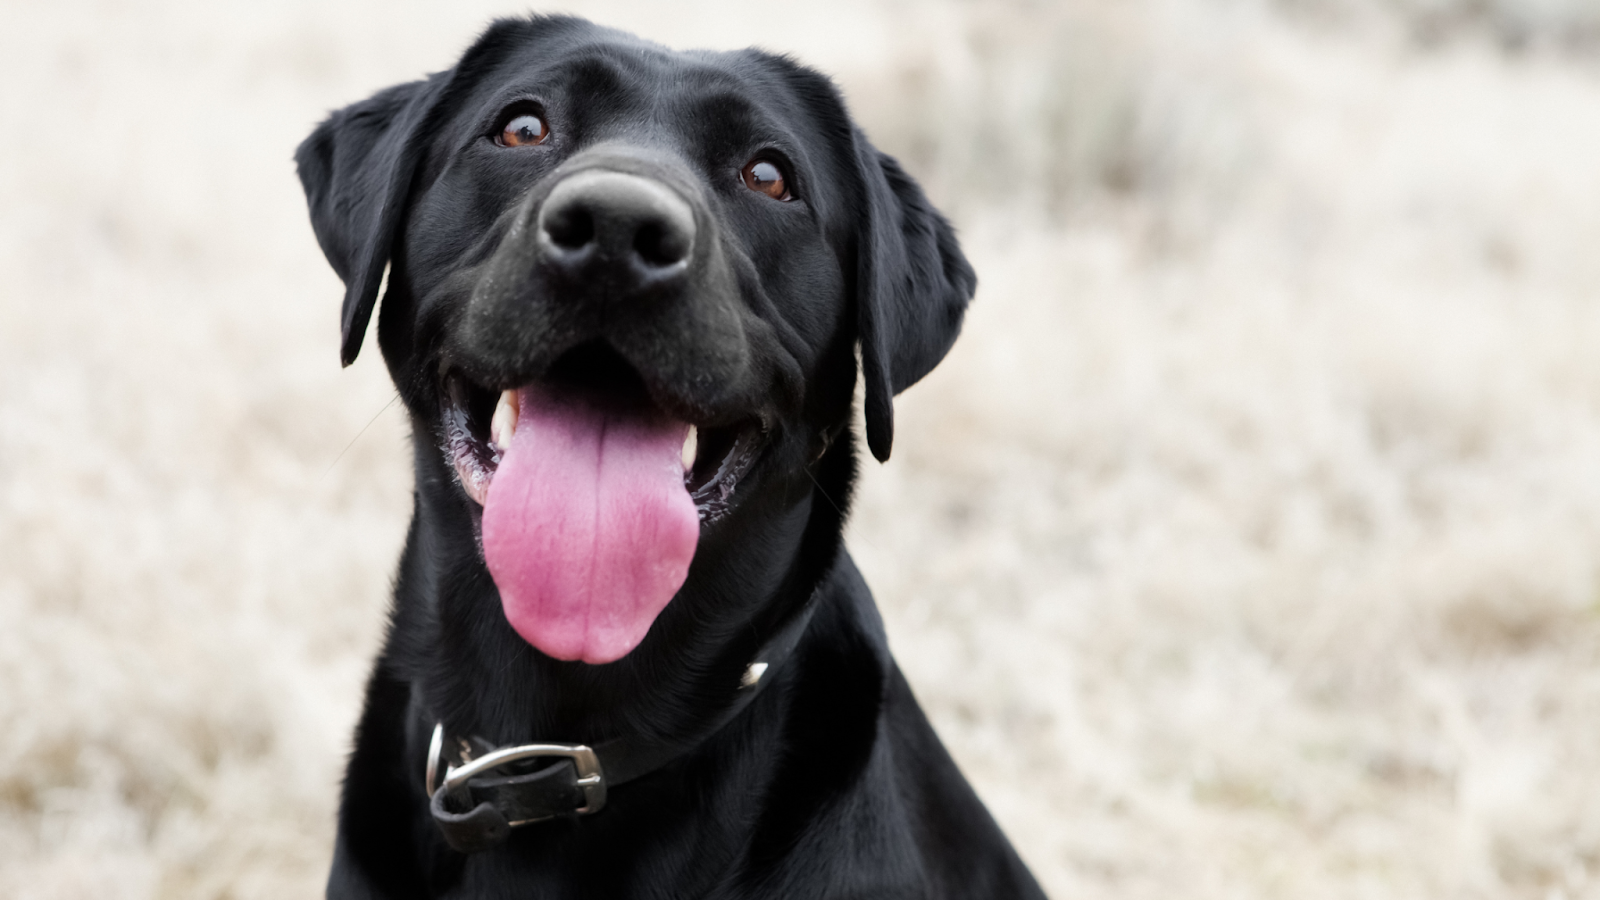
Tail wagging has a wide range of meanings. Not every wag is created equal. When a dog is truly happy or excited, they will often wag their tail in big, sweeping motions that may even involve their entire rear end shaking. On the other hand, if a dog is feeling nervous or uncertain, the wag may be slower and the tail held lower. There’s also the infamous aggressive wag — when the tail is held high and stiff while wagging rapidly in short bursts. Understanding these differences is crucial, especially for avoiding negative encounters or reading your own dog’s emotional state.
| Wagging Style | Emotional Meaning |
| Loose, wide wag | Joy, happiness, friendliness |
| Slow, tentative wag | Uncertainty or insecurity |
| High and stiff wag | Dominance or potential aggression |
| Low tail, slight wag | Submission or fear |
Position, Speed, and Direction: Decoding Tail Signals
Every detail in a dog’s tail wag — from the height at which it’s held to the speed and direction of its movement — tells a story. For instance, a tail held high signals confidence or dominance, while a tail that’s low and between the legs usually means fear or anxiety. Speed matters, too: rapid wagging usually indicates excitement or arousal, but can also signal irritation depending on context. One of the more fascinating discoveries in recent canine neuroscience is that tail direction (left or right bias) is influenced by the brain’s hemispheric activity.
| Tail Movement Factor | Interpretation |
| High, fast wag | Excitement, but could also be aggressive arousal |
| Low, slow wag | Nervousness or insecurity |
| Right-side wagging | Positive emotions like joy, curiosity, affection |
| Left-side wagging | Negative emotions such as fear or uncertainty |
Tail Wagging and Breed Differences
Not all dogs are built the same, and that includes their tails. Some breeds have naturally curled tails, others have long and feathery ones, and some breeds are born with docked or stubby tails. These physical differences affect how dogs wag their tails and, consequently, how we interpret their emotions. Breeds like Golden Retrievers and Labradors are known for their expressive tails, while breeds like Basenjis or Bulldogs may show their feelings through more subtle body cues.
| Breed Example | Tail Type | Wagging Behavior |
| Golden Retriever | Long, feathered tail | Very expressive and often wags the whole body |
| Basenji | Tightly curled tail | Limited wagging, more subtle cues through posture and eyes |
| Boxer | Often docked tail | Uses body and facial expressions instead of tail wagging |
| Siberian Husky | Plumed, curled tail | Expressive but movements are often more nuanced |
Tail Wagging in Puppies vs. Adult Dogs
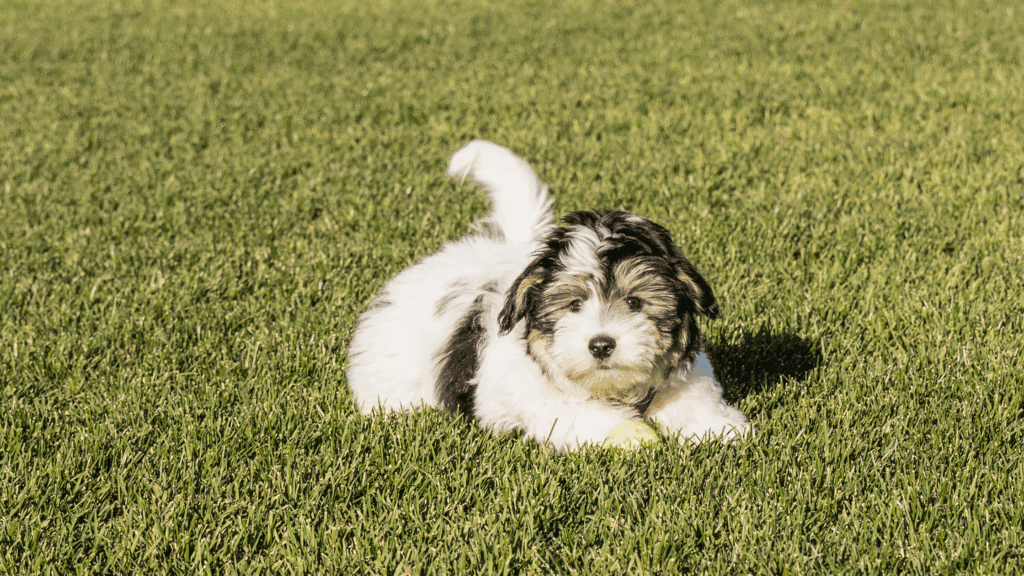
Puppies don’t start wagging their tails right after birth. In fact, most begin to wag at around 3 to 4 weeks of age — this is when they begin to interact socially with their littermates and their environment. Initially, tail wagging is a response to external stimulation and social bonding rather than emotional expression. As they grow, their neurological system matures, and tail wagging becomes more refined, expressing complex emotional responses such as happiness, submission, or anxiety. In contrast, adult dogs use tail wagging more strategically. Their wags are often more deliberate and situational, depending on what or whom they are interacting with. Understanding these developmental differences can help pet owners provide more age-appropriate care and training.
| Age Group | Tail Wagging Traits |
| Puppies (0–8 weeks) | Begin wagging around 3–4 weeks old; used for social bonding and exploration |
| Juvenile Dogs | Wagging becomes more expressive as they develop emotional intelligence |
| Adult Dogs | Wagging is more nuanced; used for complex emotional and social signaling |
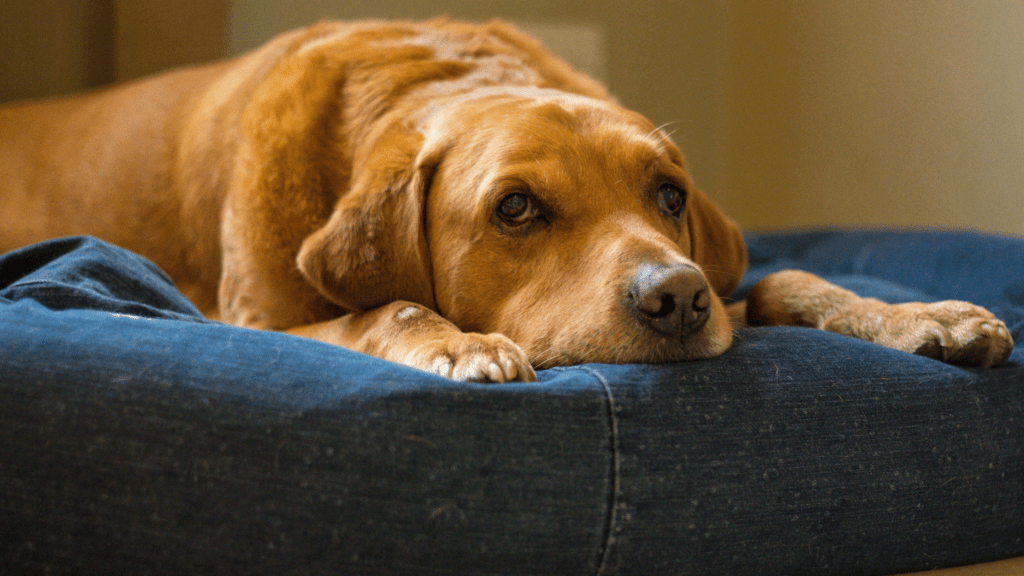
| Senior Dogs | May wag less due to lower energy or joint/muscle stiffness |
Tail Docking: How It Affects Communication
Tail docking, the practice of surgically removing parts of a dog’s tail, is controversial and can affect a dog’s ability to communicate. While it is still practiced for some breeds for traditional or aesthetic reasons, tail docking removes a vital communication tool. Dogs rely on their tails to express everything from joy to aggression. Removing the tail restricts their ability to signal effectively, especially to other dogs, leading to potential misunderstandings or social friction. In some countries, tail docking is banned unless medically necessary. It’s essential to consider the long-term implications for canine socialization and emotional expression before opting for this procedure.
| Aspect Affected by Docking | Impact on Dogs |
| Communication | Reduced ability to express fear, submission, excitement |
| Social Interaction | Other dogs may misread signals or see docked dogs as threatening |
| Balance and Movement | Some breeds rely on their tail for agility and navigation |
| Veterinary Consensus | Many experts discourage docking for non-medical reasons |
How Humans Misinterpret Tail Wagging
A wagging tail is often interpreted by humans as a sign of friendliness, but this is a dangerous oversimplification. Not every wag indicates that a dog is happy or wants interaction. For instance, a dog may wag its tail stiffly and high when it’s feeling dominant or on alert — and approaching such a dog without caution could lead to aggressive behavior. Similarly, a low, slow wag may mean nervousness, and the dog might react negatively if pressed. The issue stems from our natural tendency to anthropomorphize animal behavior — attributing human-like emotions and intentions to pets. Learning to read the full context — posture, facial expression, environment — is essential for responsible pet ownership.
| Common Misinterpretation | What It Actually Means |
| “Tail wagging equals happy” | Could also mean fear, dominance, or agitation depending on style and posture |
| “Fast wagging is friendly” | A rapid, stiff wag can signal aggression or arousal |
| “All dogs wag the same” | Different breeds and individual dogs express emotions differently |
| “Wagging means they want petting” | Not always — some dogs want space even while wagging |
Emotions Associated with Different Tail Wags
The tail is the emotional barometer of a dog. From unbridled joy to nervous hesitation, tail movements offer real-time insight into a dog’s emotional state. A high, wagging tail usually indicates alertness or confidence, while a tucked tail may be a red flag signaling fear, stress, or submission. Context matters immensely. For example, a dog may wag their tail in anticipation of going on a walk (pure excitement) versus a more restrained wag when meeting a stranger (tentative curiosity). As dog owners become more observant, they can begin to anticipate their pet’s needs and reactions, deepening the bond between human and animal.
| Tail Position/Wag Style | Associated Emotion |
| High & slow wagging | Cautious confidence or mild dominance |
| Low & rapid wagging | Nervous energy or eagerness to appease |
| Side-to-side wide wagging | Joy, excitement, affection |
| Tucked tail with slight wag | Fear with a small hope for reassurance |
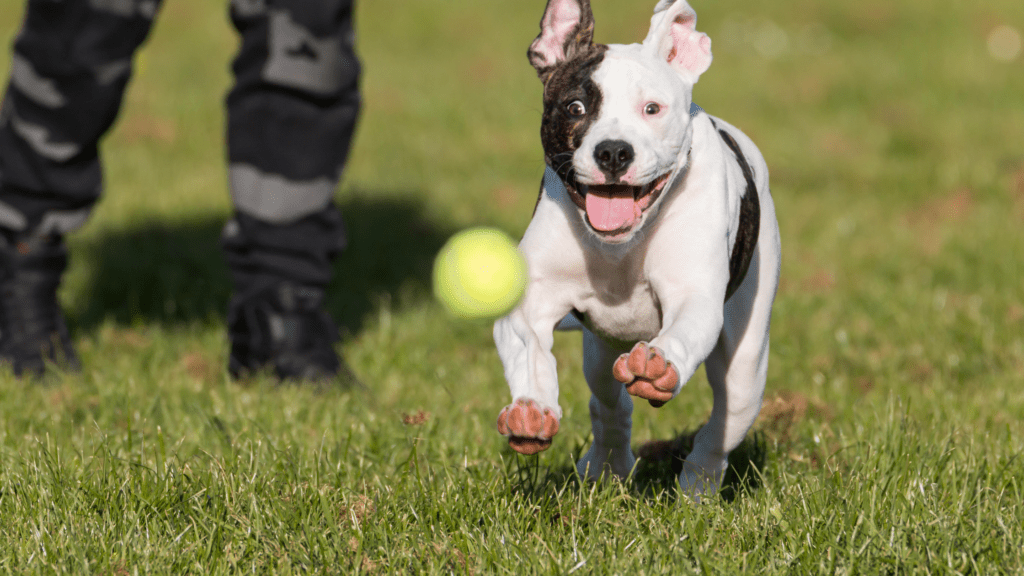
Tail Wagging During Playtime
During play, tail wagging is often exaggerated and combined with other playful body signals — bouncing, play bows, and tongue-out panting. In this context, tail wagging usually reflects pure, unfiltered excitement and sociability. Dogs often wag in full-body movements during these moments, and you might even see a “circular wag” or “helicopter tail,” where the tail spins like a fan — this is a sign of extreme happiness. Play-induced tail wagging is also a way for dogs to signal that their behavior (like chasing or mock fighting) is not aggressive but playful.
| Playtime Tail Behavior | Interpretation |
| Helicopter wag | Overjoyed, thrilled, often when greeting a loved one |
| Wag with play bow | Invitation to play |
| Wag during roughhousing | Signifies non-aggression, even if growls occur |
| Wag with relaxed face & body | Confirms a playful and content emotional state |
How to Respond to Different Tail Movements
Responding appropriately to your dog’s tail signals can improve communication and strengthen trust. If your dog shows a loose, sweeping wag and leans into you, it’s safe to engage, offer affection, or begin play. However, if the tail is stiff and high, it’s best to observe, give space, and avoid direct eye contact, especially with unfamiliar dogs. Recognizing these subtleties prevents miscommunication and helps you build a respectful, emotionally intelligent relationship with your pet. It’s especially crucial for children and non-dog-savvy adults to learn the dos and don’ts of tail signal interpretation.
| Tail Movement | Recommended Human Response |
| Loose, relaxed wag | Engage warmly, offer attention or play |
| High, tight wag | Be cautious, give space, observe the rest of the body language |
| Low, slow wag with tucked tail | Use a calm voice, avoid pressure or eye contact, reassure softly |
| No wagging, stiff posture | Dog is tense or alert — do not approach hastily |
Conclusion
Understanding “why do dogs wag their tails” opens the door to a much deeper relationship with your canine companion. It’s not just a tail flick — it’s an emotional message, a communication channel, and sometimes, a subtle cry for help or reassurance. By learning to read this natural behavior, you can respond more compassionately and effectively to your dog’s emotional world. As pet parents, it’s our responsibility to tune into these silent messages and become better listeners — not just to what our dogs bark, but what their tails are saying too.
Pro Tip:
Always observe your dog’s tail wag in context — don’t rely on wagging alone. Pair the tail’s movement with posture, facial expression, and environment for a complete understanding of what your dog is trying to tell you.
FAQs
1. Why do dogs wag their tails when they see you?
Because they associate you with positive emotions! Seeing their owner triggers a happy emotional response in the brain, prompting the tail to wag in joy.
2. Can dogs control their tail wagging consciously?
Not entirely. While dogs can wag in response to conscious emotion, the motion is largely a reflex governed by the nervous system.
3. Do tail wags differ between breeds?
Yes! Tail length, curl, and texture can affect how expressively a dog wags its tail and how easily others can interpret the movement.
4. Should I be worried if my dog doesn’t wag their tail?
It depends. A lack of wagging might indicate discomfort, fear, illness, or even breed characteristics. If in doubt, consult a vet.
5. Is tail wagging ever a bad sign?
Absolutely — some dogs wag when they’re aggressive, anxious, or about to assert dominance. Always assess the full body language.