Can Dogs Eat Cat Food? Shocking Facts Every Pet Owner Should Know
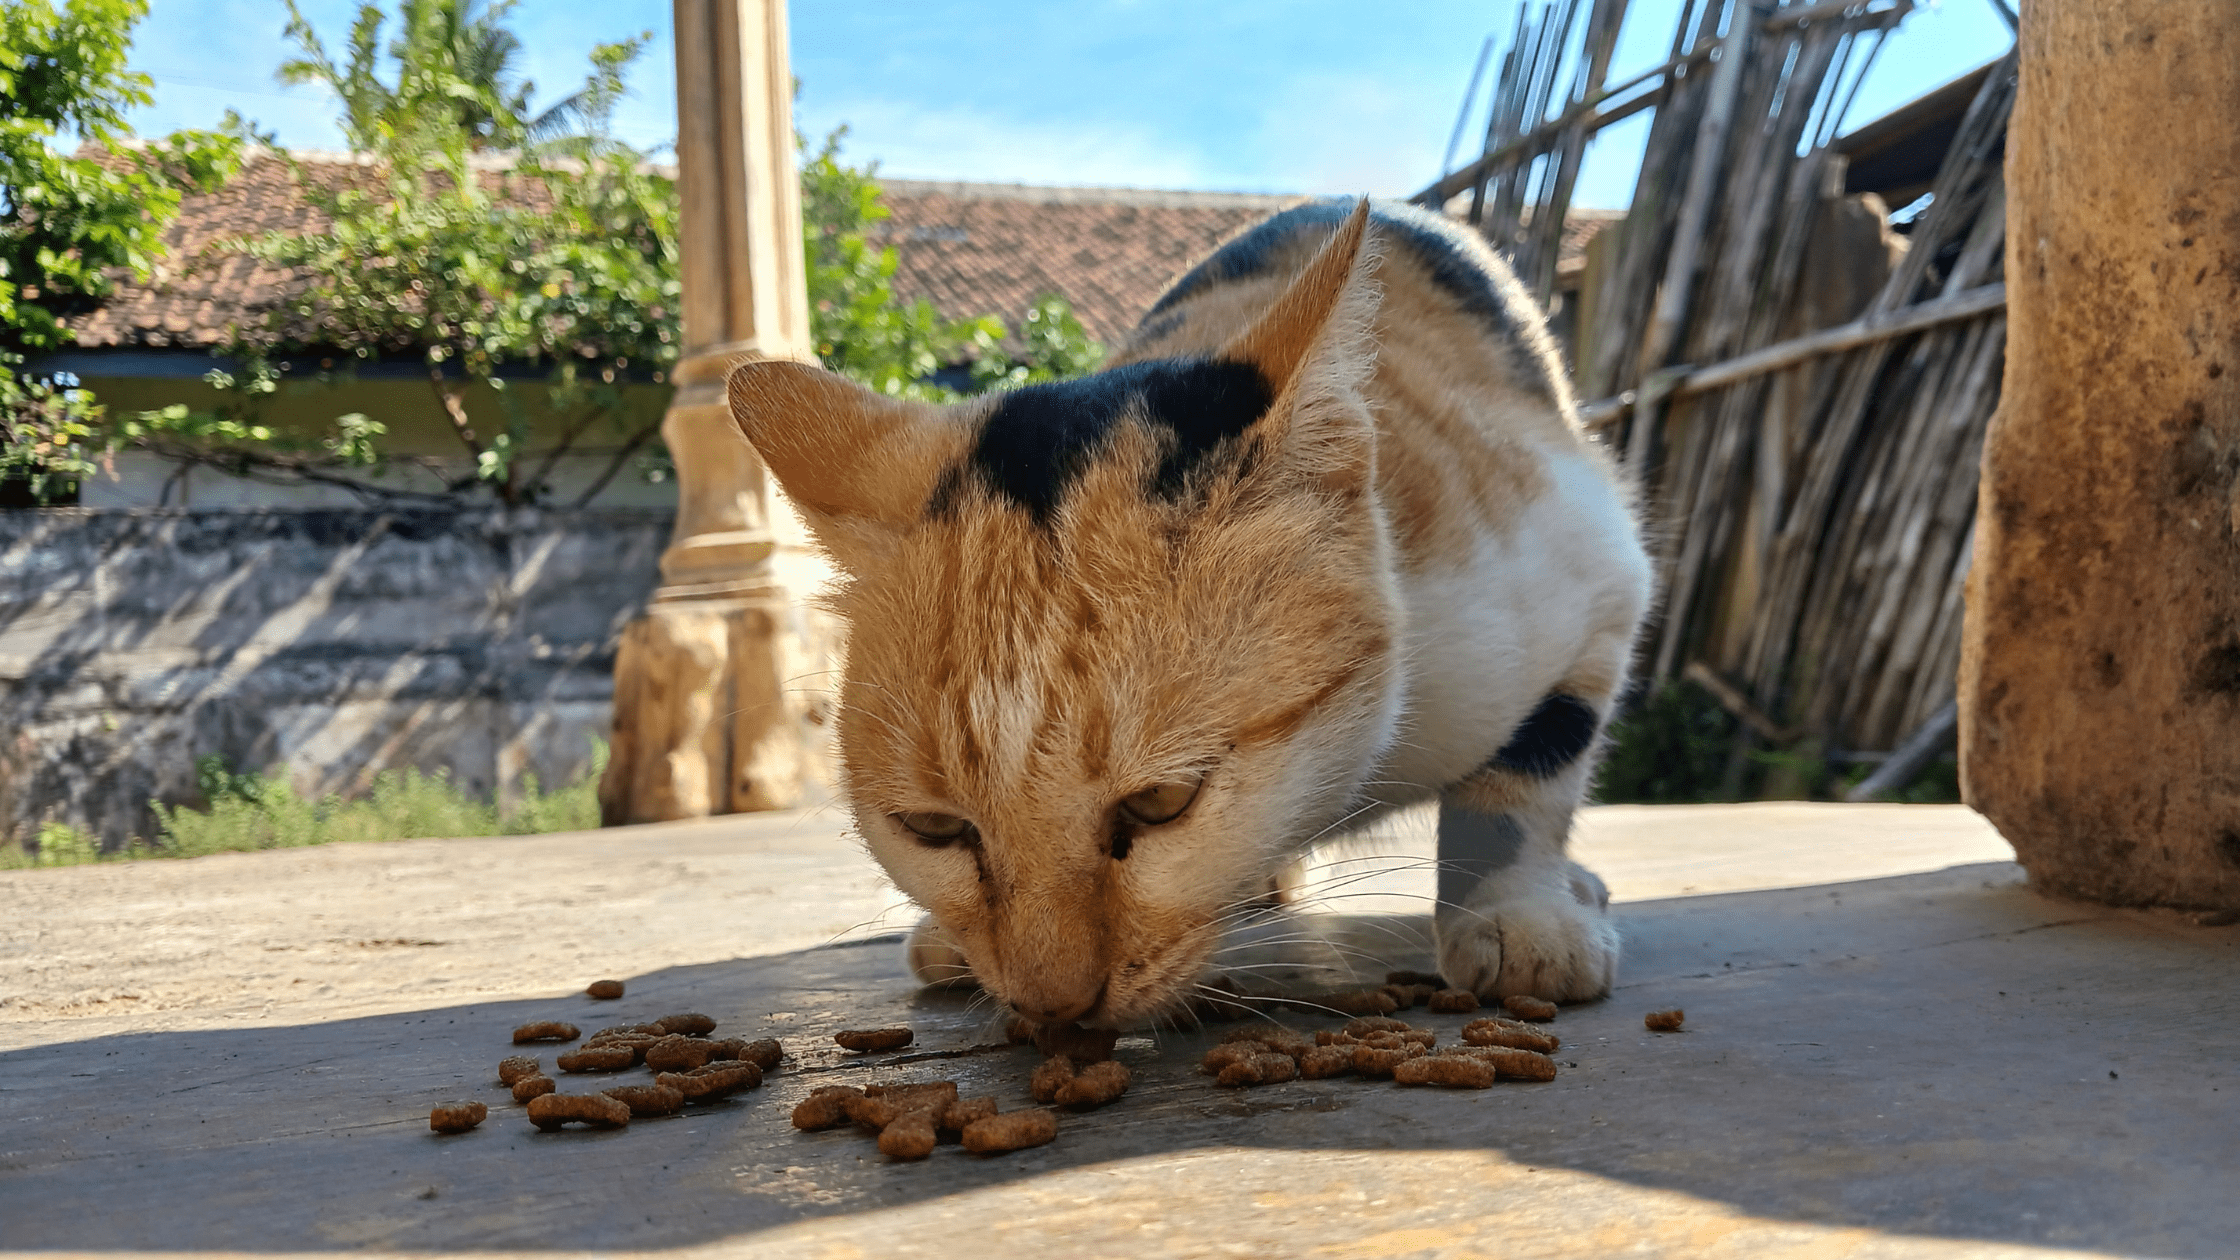
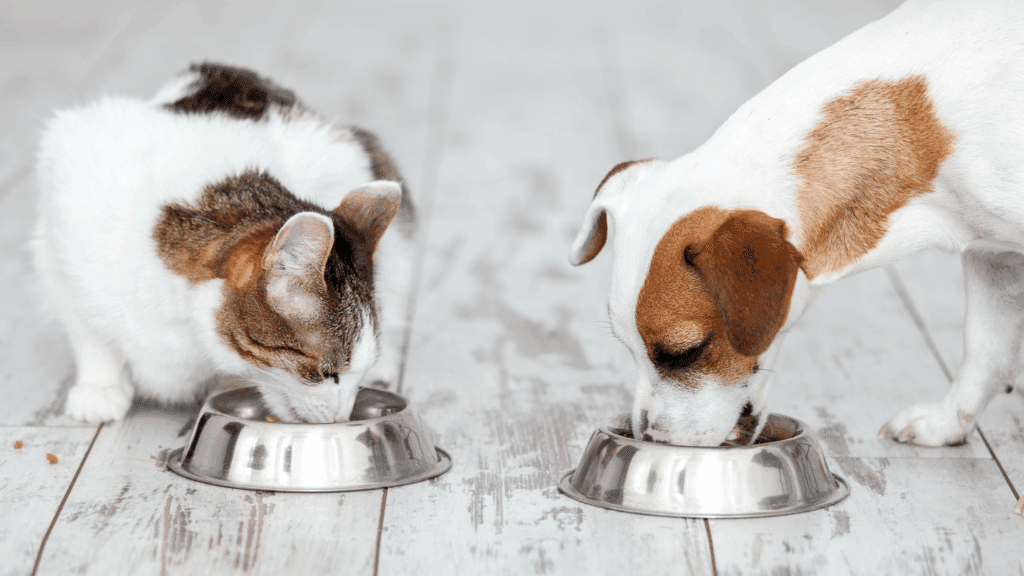
If you live in a multi-pet home, chances are you’ve caught your dog sneaking into your cat’s food bowl at least once. It’s one of those moments when you wonder — is it really that bad? After all, both foods look (and smell) similar, right?
Well, not exactly. Cat food is specifically formulated for felines’ dietary needs, and while your dog might find it irresistible, it’s far from healthy for them.
According to a 2024 survey by the American Kennel Club (AKC), nearly 61% of dog owners who also have cats admit their dogs occasionally eat cat food. Although an occasional nibble may not cause immediate harm, repeated consumption can lead to long-term health problems.
In this guide, we’ll explore the science, the risks, and the practical solutions to managing your dog’s dietary curiosity — so you can keep both your pets happy, healthy, and well-fed.
Understanding the Nutritional Difference Between Dog and Cat Food
Before labeling cat food as “bad,” it’s important to understand why it’s unsuitable for dogs. Cats and dogs may both be carnivores, but their nutritional blueprints differ significantly.
Protein Content Comparison
Cats are obligate carnivores — they rely solely on meat to meet their protein requirements. Dogs, however, are omnivores that thrive on a balanced diet of meat, grains, and vegetables.
That means cat food is formulated with extremely high protein content — sometimes up to 40%, compared to the 18–25% typically found in dog food.
| Nutrient | Average in Cat Food | Average in Dog Food | Role in Diet |
| Protein | 30–40% | 18–25% | Builds muscles, supports enzymes |
| Fat | 15–20% | 8–12% | Provides energy, supports skin health |
| Carbohydrates | 5–10% | 30–50% | Source of fiber and energy |
| Fiber | 1–2% | 4–8% | Aids digestion and gut health |
Too much protein can overwhelm your dog’s liver and kidneys, leading to long-term damage if cat food becomes a frequent indulgence.
Fat Levels and Calorie Differences
Cat food contains higher fat levels to sustain their energy needs, as cats naturally burn more calories relative to body size. Dogs consuming this fat-heavy diet regularly can quickly pack on extra pounds.
High-calorie cat food can also trigger pancreatitis — a painful inflammation of the pancreas that interferes with digestion. This condition can be chronic and life-threatening if ignored.
Why Cat Food Isn’t Formulated for Dogs
Although both are pets, their biological systems are not interchangeable. Cat food is engineered to meet feline biology, not canine.
Specific Amino Acids and Nutrients
Cats require nutrients like taurine, arachidonic acid, and vitamin A in their diets — which their bodies can’t produce in sufficient quantities. Dogs can naturally synthesize these nutrients, so their food doesn’t need the same concentrations.
However, cat food often lacks nutrients like vitamin E, zinc, and fiber, which dogs need to maintain strong immune function, a shiny coat, and healthy digestion.
| Nutrient | Essential for Cats | Essential for Dogs | Present in Cat Food |
| Taurine | ✅ | ❌ | ✅ High |
| Vitamin A (preformed) | ✅ | ❌ | ✅ High |
| Fiber | ❌ | ✅ | ❌ Low |
| Vitamin E | ❌ | ✅ | ⚠️ Insufficient |
Digestive System Differences
Dogs’ digestive systems are more flexible, designed to process meat and plant materials alike. Cat food, being almost entirely meat-based, can cause gastrointestinal distress, gas, or diarrhea when dogs consume it frequently.
What Happens If a Dog Eats Cat Food Once?
Short-Term Effects
Good news: If your dog sneaks a mouthful of cat food once or twice, there’s usually no cause for alarm. Most dogs may experience minor digestive symptoms, but they typically recover quickly.
Signs to Watch Out For
- Temporary diarrhea or soft stools
- Increased thirst or urination
- Mild bloating
- Vomiting (in rare cases)
Provide plenty of water and monitor your pet for 24 hours. If symptoms persist or worsen, contact your veterinarian.
Long-Term Effects of Dogs Eating Cat Food Regularly
Here’s where the real problem begins. Continuous exposure to the nutrient imbalance in cat food can trigger chronic conditions that affect your dog’s health and lifespan.
Pancreatitis and Obesity
Pancreatitis, one of the most serious side effects, occurs when your dog’s pancreas becomes inflamed due to excessive fat intake. It can cause vomiting, lethargy, loss of appetite, and abdominal pain.
Additionally, high-fat, high-calorie cat food contributes to rapid weight gain. Overweight dogs are at higher risk of developing arthritis, diabetes, and cardiovascular issues.
Stat: According to the Association for Pet Obesity Prevention (APOP), 56% of dogs in the U.S. are overweight or obese (source).
Liver and Kidney Strain
Dogs rely on the liver and kidneys to metabolize proteins and eliminate toxins. A high-protein diet — like that in cat food — makes these organs work harder, leading to strain over time. Senior dogs or those with existing health issues are particularly vulnerable.
Digestive and Behavioral Impacts
Long-term consumption can cause chronic digestive discomfort and even behavioral changes. Dogs addicted to the rich taste of cat food may reject their own food, leading to nutritional deficiencies and fussier eating habits.
Key Nutrients Missing in Cat Food That Dogs Need
Dogs require a balanced mix of carbs, fiber, vitamins, and plant-derived nutrients for optimal health — many of which are missing or insufficient in cat food.
| Nutrient | Why It Matters for Dogs | Deficiency Consequence |
| Fiber | Supports digestion and stool quality | Constipation or loose stool |
| Carbohydrates | Steady energy supply | Lethargy, hypoglycemia |
| Vitamin E | Strengthens immune system | Dry coat, weak muscles |
| Zinc & Selenium | Cell repair and metabolism | Skin irritation, hair loss |
| Omega-3 Fatty Acids | Promotes brain and joint health | Dull coat, inflammation |
Without these, dogs may experience reduced energy, weaker immunity, and poor coat condition.
Why Dogs Are Attracted to Cat Food
Dogs are drawn to cat food for the same reason humans crave junk food — it’s rich, aromatic, and flavorful. Cat food often includes strong-smelling fish oils, animal fats, and protein-based enhancers that appeal to a dog’s powerful sense of smell.
While it’s understandable from their perspective, indulging them too often can be harmful, much like giving candy to a child at every meal.
You May Also Like : Can Cats Eat Dog Food?
Is Cat Food Ever Safe for Dogs?
Emergency Feeding Situations
If you’re out of dog food, a small portion of cat food is safe in emergencies only. It’s better than letting your dog go hungry but should not become routine. Always transition back to dog food as soon as possible.
Occasional Small Treats
Some owners use a spoonful of cat food as a high-protein treat or reward. While this won’t hurt, it’s best done sparingly — ideally no more than once every few weeks.

What to Do If Your Dog Eats Cat Food Accidentally
- Don’t panic. A one-time slip is rarely dangerous.
- Observe behavior. Look for vomiting, diarrhea, or discomfort.
- Hydrate your dog. Encourage extra water intake to help process excess protein and fat.
- Feed bland meals (like boiled chicken and rice) for the next 24 hours.
- Contact your vet if your dog shows persistent symptoms or has pre-existing health issues.
Vet Insights: Expert Opinions and Case Studies
Veterinary professionals universally advise against feeding cat food to dogs. According to Dr. Jennifer Coates, DVM (via PetMD), “Feeding cat food to dogs can cause nutrient imbalances that may lead to digestive upset and long-term organ stress.”
A case study published in Veterinary Nutrition Journal (2022) observed dogs that consumed cat food for three months showed elevated liver enzymes and increased fat levels in bloodwork, indicating metabolic stress.
These findings reinforce the importance of feeding species-specific diets for optimal health.
Homemade Alternatives to Cat Food for Dogs
If you run out of dog food, you can easily prepare nutritious homemade meals using simple ingredients available in most kitchens.
| Ingredient | Quantity | Nutritional Benefit |
| Boiled chicken/turkey | 1 cup | Lean protein for muscle maintenance |
| Cooked rice/oats | ½ cup | Gentle carbohydrates for energy |
| Carrots or peas | ¼ cup | Fiber and vitamins for digestion |
| Olive/coconut oil | 1 tsp | Healthy fats for skin and coat |
| Bone broth | As needed | Hydration and joint support |
Avoid adding seasonings, onions, or garlic — they’re toxic to dogs.
Healthy Dog Diet Essentials
Ideal Protein-to-Fat Ratio
A healthy dog diet should contain around 22% protein and 12% fat. Unlike cat food, dog diets include more carbohydrates to balance energy levels throughout the day.
Recommended Dog-Safe Ingredients
- Lean meats: Chicken, turkey, beef, salmon
- Carbohydrates: Sweet potatoes, brown rice, quinoa
- Fruits & veggies: Apples (without seeds), spinach, carrots
- Healthy fats: Fish oil, flaxseed, olive oil
A balanced commercial dog food should meet AAFCO (Association of American Feed Control Officials) standards for complete nutrition.
Prevention Tips: Keeping Your Dog Away from Cat Food
It’s not always easy, especially if both pets share the same space. However, these simple strategies can help:
- Feed cats on elevated surfaces or in separate rooms.
- Use microchip-activated feeders that open only for your cat.
- Store cat food in airtight containers out of your dog’s reach.
- Schedule feeding times separately to minimize temptation.
- Reinforce obedience training using “leave it” or “stay” commands.
Comparison Table: Dog Food vs. Cat Food Nutritional Breakdown
| Aspect | Dog Food | Cat Food |
| Diet Type | Omnivore | Carnivore |
| Protein Source | Mixed (meat + plants) | Purely meat-based |
| Fiber | 4–8% | 1–2% |
| Taurine | Optional | Essential |
| Fat Content | 8–12% | 15–20% |
| Vitamin Mix | Broad spectrum | Tailored for cats |
| Carbs | 30–50% | <10% |
Conclusion: The Verdict on Cat Food for Dogs
So, can dogs eat cat food? The answer is only occasionally — and never as a habit. While cat food may not be toxic, it’s nutritionally unbalanced for dogs. Long-term feeding can lead to pancreatitis, obesity, kidney stress, and nutrient deficiencies.
Think of cat food as a cheat meal — okay in emergencies but not fit for everyday dining. Always choose dog food that’s formulated specifically for your pet’s size, age, and breed, and consult your vet before making dietary changes.
FAQs
1. Can dogs eat wet cat food?
Yes, but only in small amounts. Wet cat food is higher in fat and may cause digestive upset if consumed regularly.
2. What should I do if my dog eats a large quantity of cat food?
Offer water, monitor symptoms, and contact your vet if vomiting, diarrhea, or lethargy occurs.
3. Can cat food cause allergies in dogs?
Yes. Cat food often contains fish, chicken, or beef — common allergens for dogs.
4. Can I mix cat food with dog food?
No. Mixing can disrupt the nutrient balance and lead to overconsumption of protein and fat.
5. Is it safe for puppies to eat cat food?
Absolutely not. Puppies have sensitive digestive systems and require specific puppy-formulated nutrition.